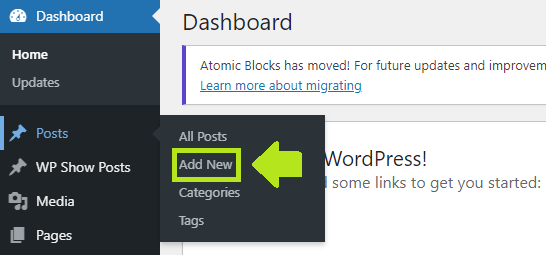
To edit any post or page in the WordPress site using the new Gutenberg Block Editor, navigate to Posts/Pages > Add New in the WordPress dashboard.
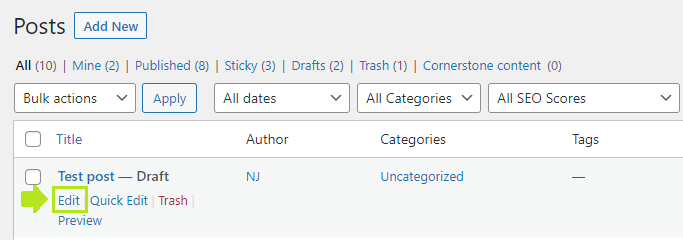
You can also open any existing post/page from Posts/Pages to edit.
Now on the page editing screen, you can start adding (or editing) content.
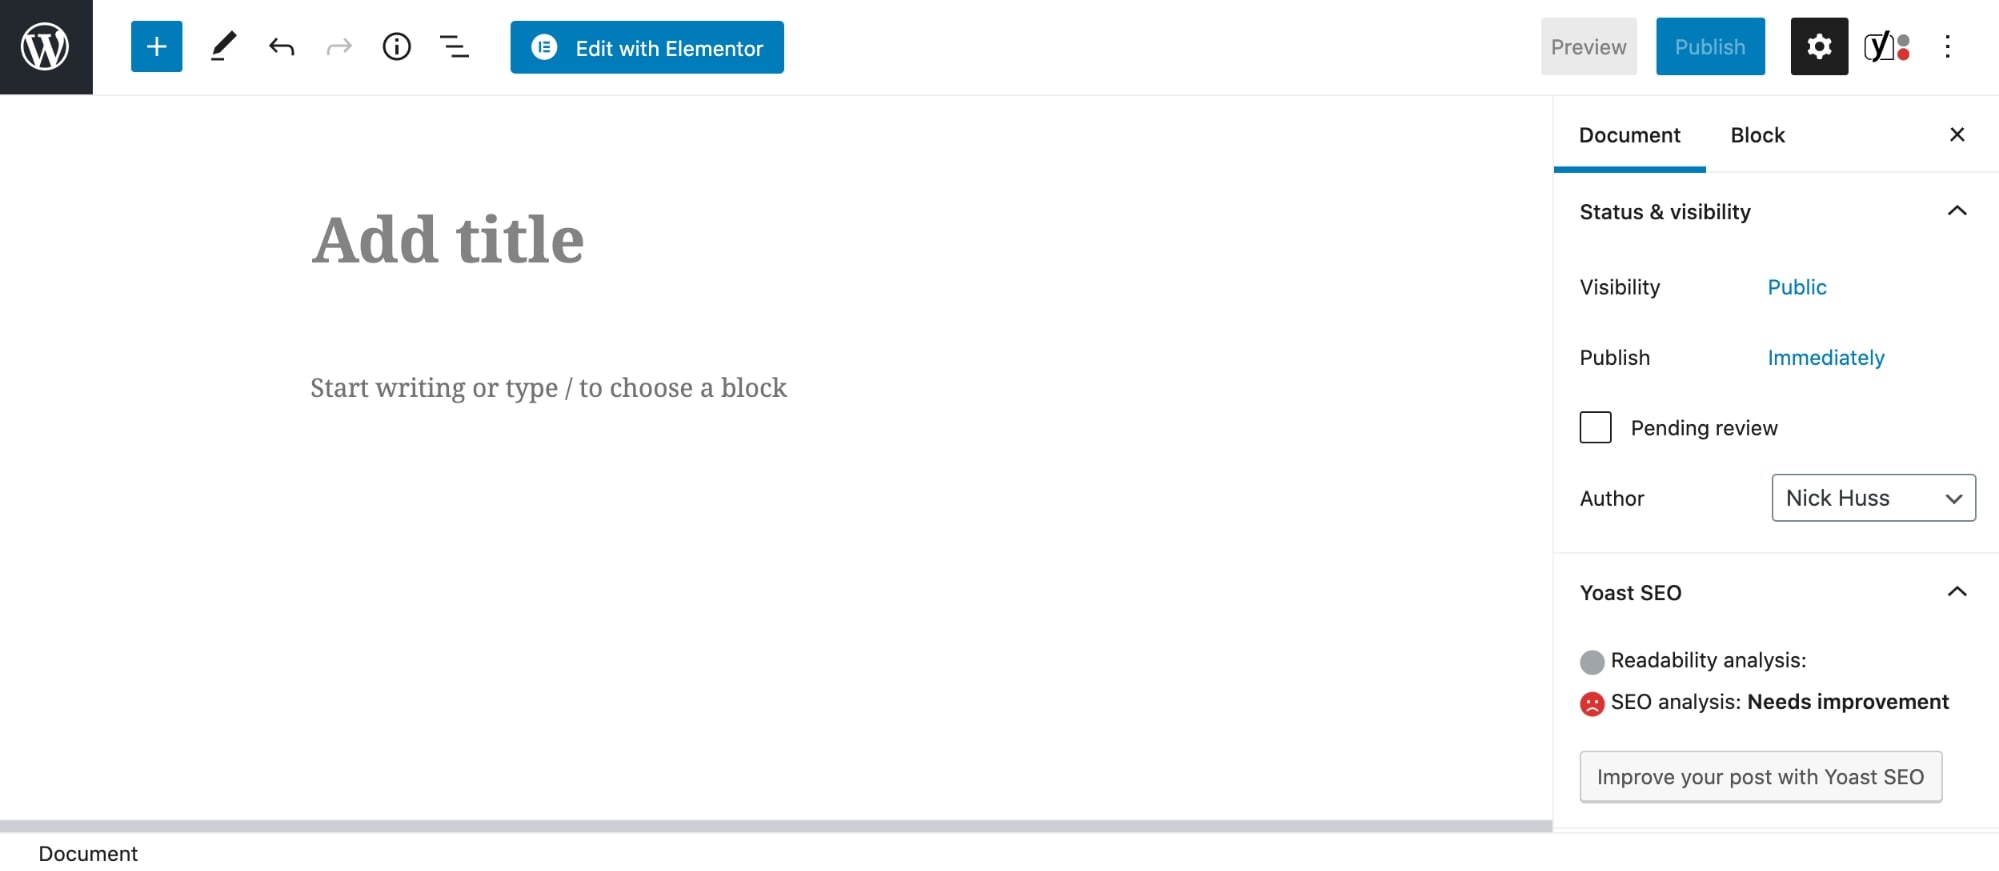
First, click on the Add title block and enter the page title you want. For existing content, you can edit the title the same exact way – by clicking on it.
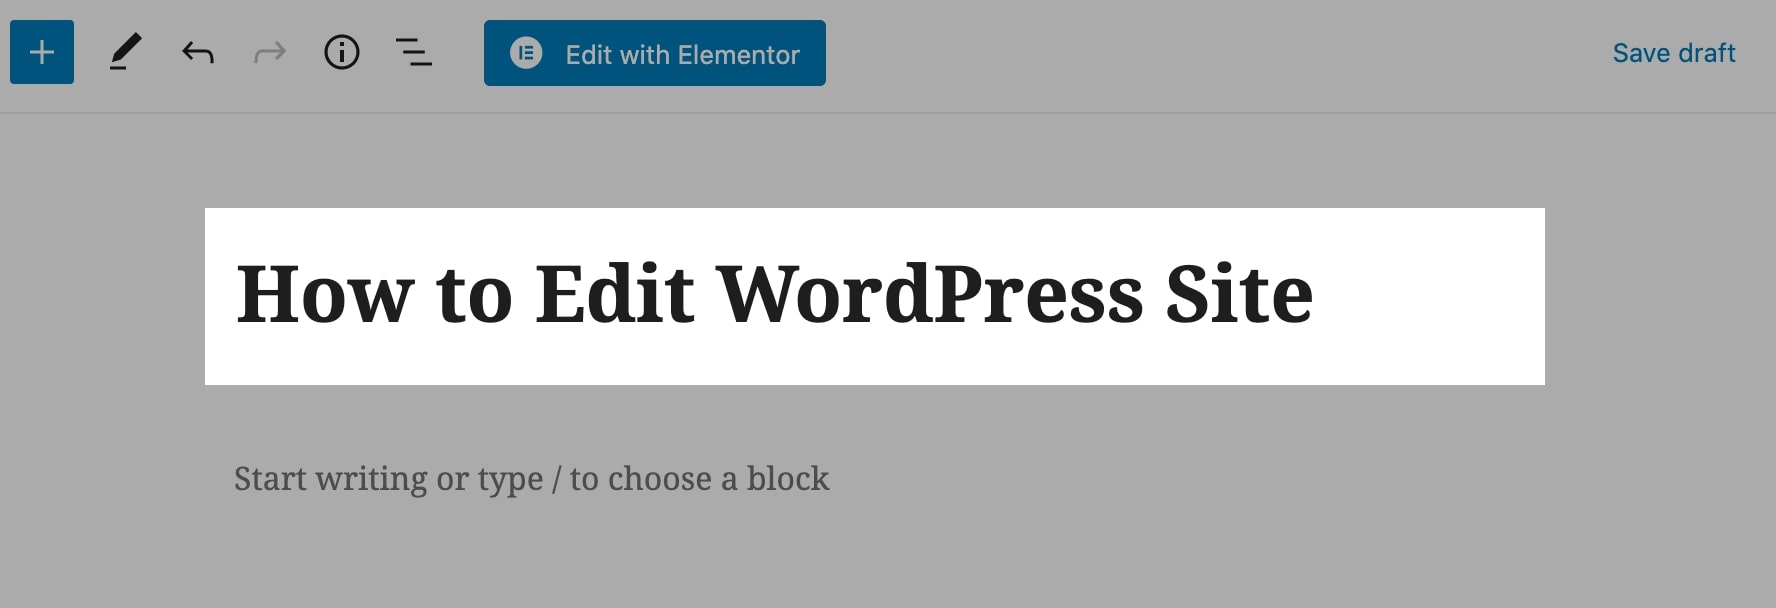
Next, click enter (takes you to the first line after the title) and start typing to add the content you want.
As mentioned in the previous sections, each element in the Gutenberg is called a block (that’s why the name is “Block Editor”). If you want to edit or customize a block, you can click on it and select the settings from the sidebar.
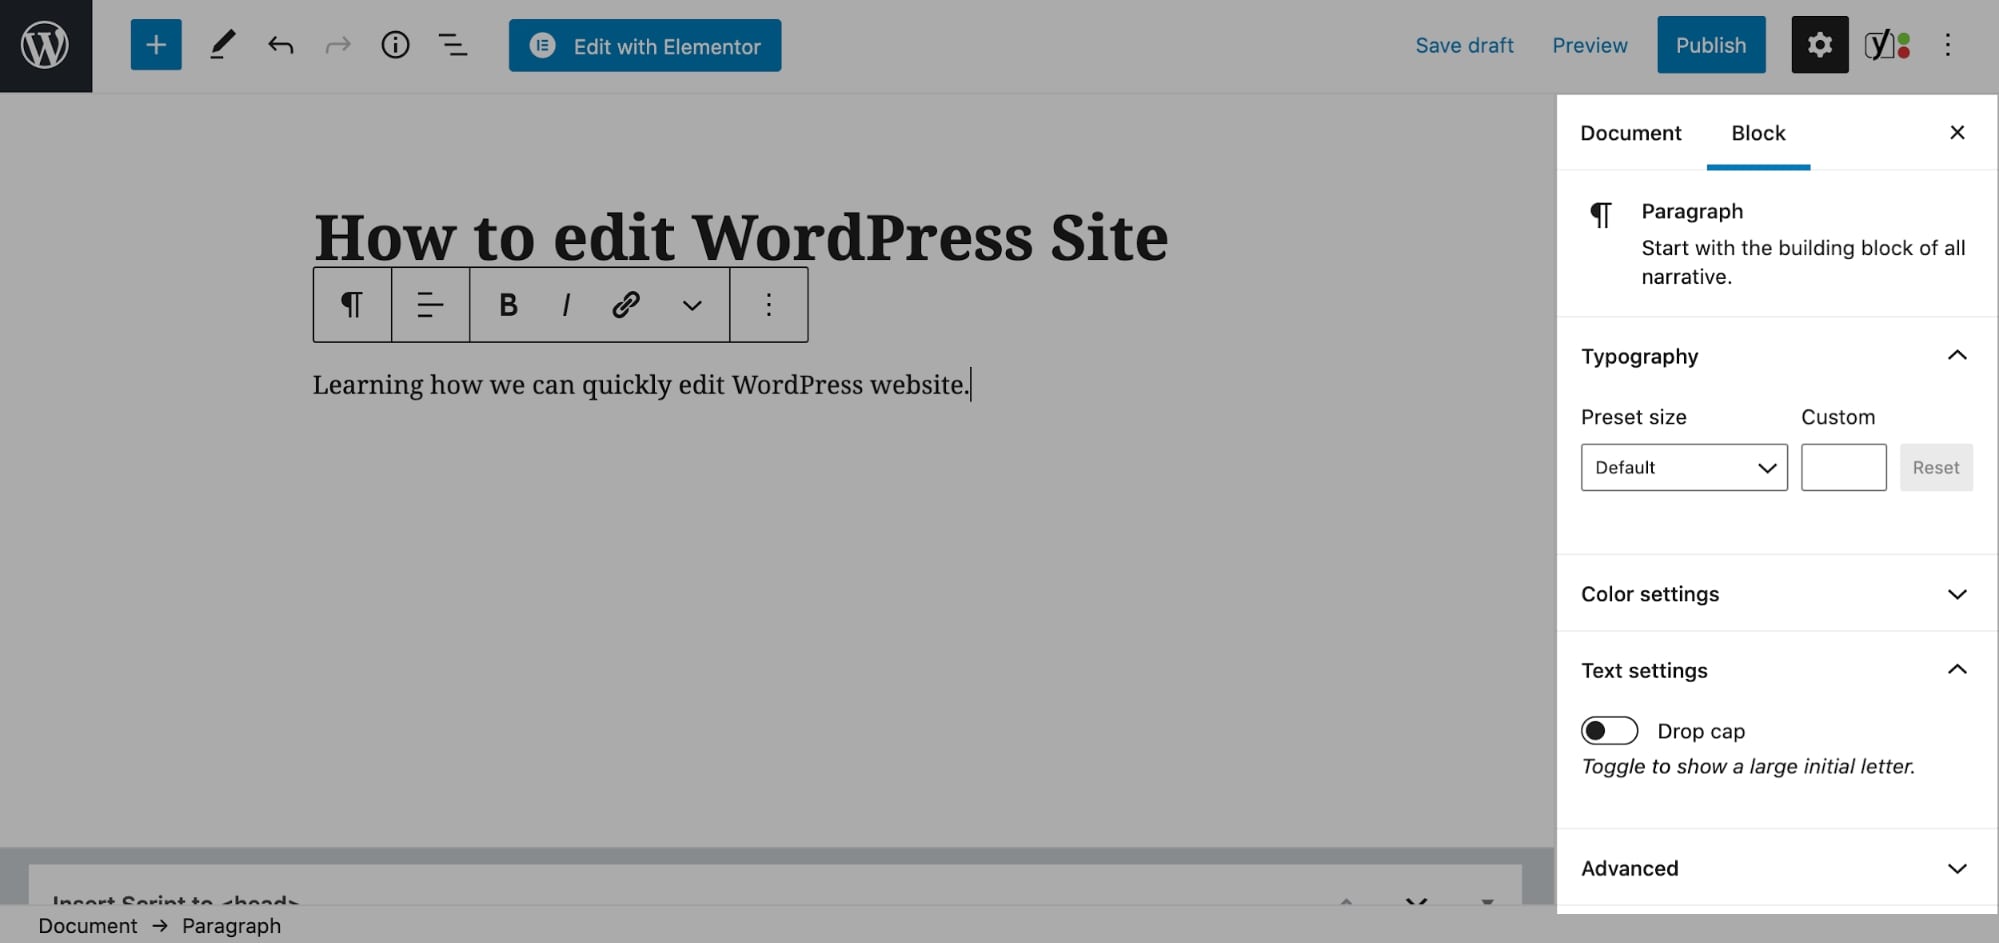
Additional customization settings (for example typography settings like font size, drop cap, and font color for paragraph block) are available by default for all blocks.
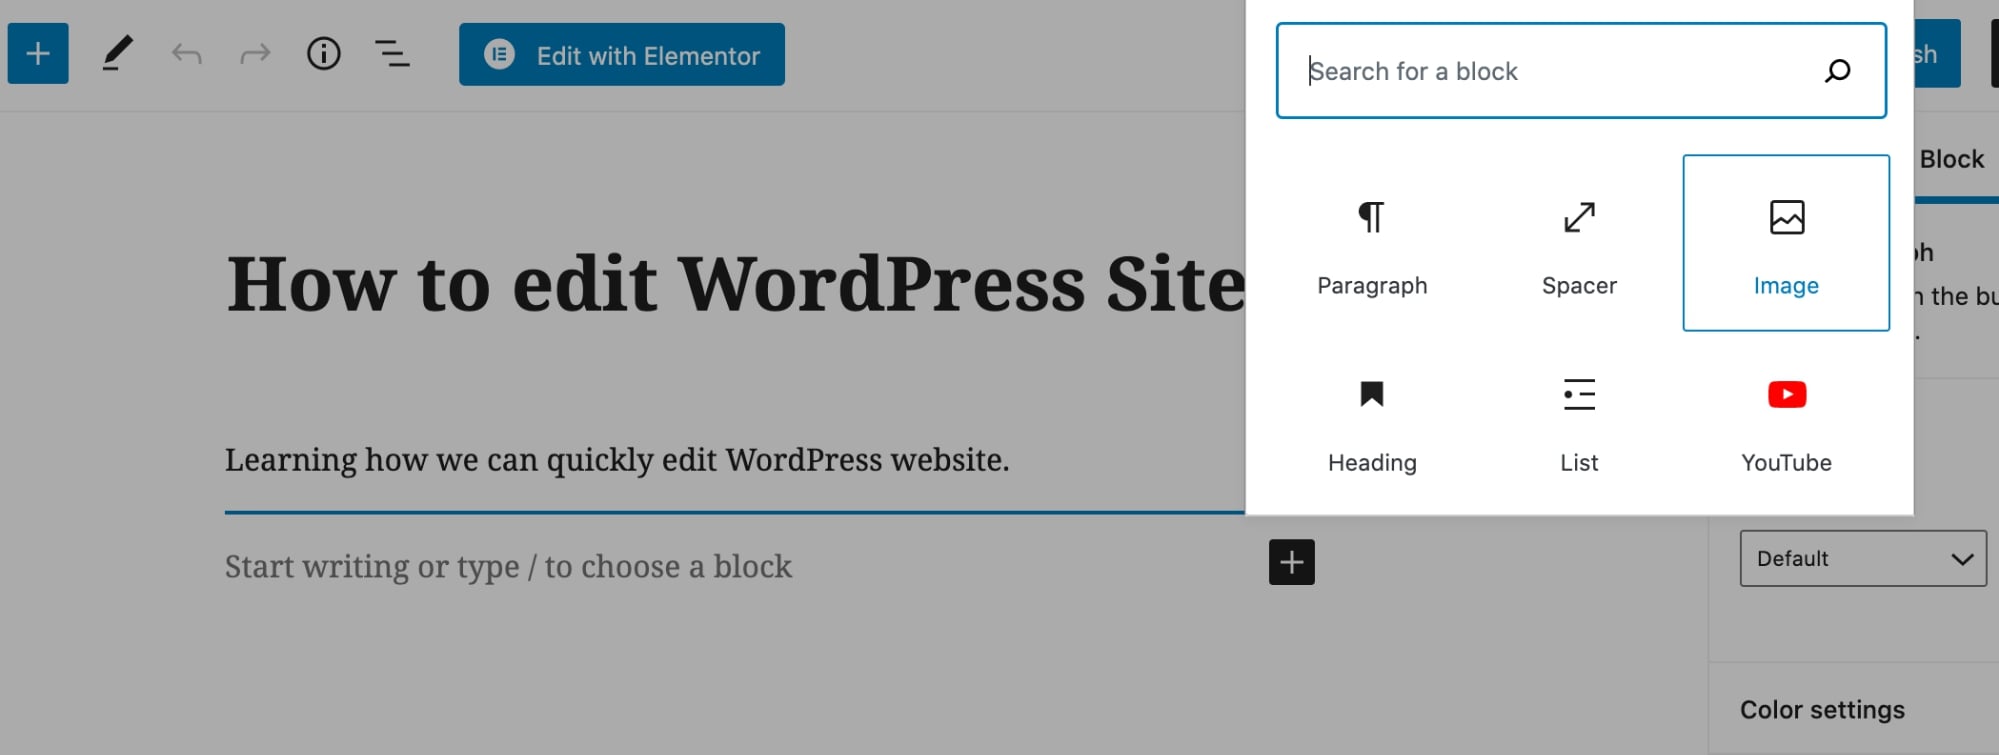
To add an image to the page, click on the plus icon, and select the Image block from the popup.
You can also add other content elements by clicking on the plus icon and using the left sidebar’s search field.
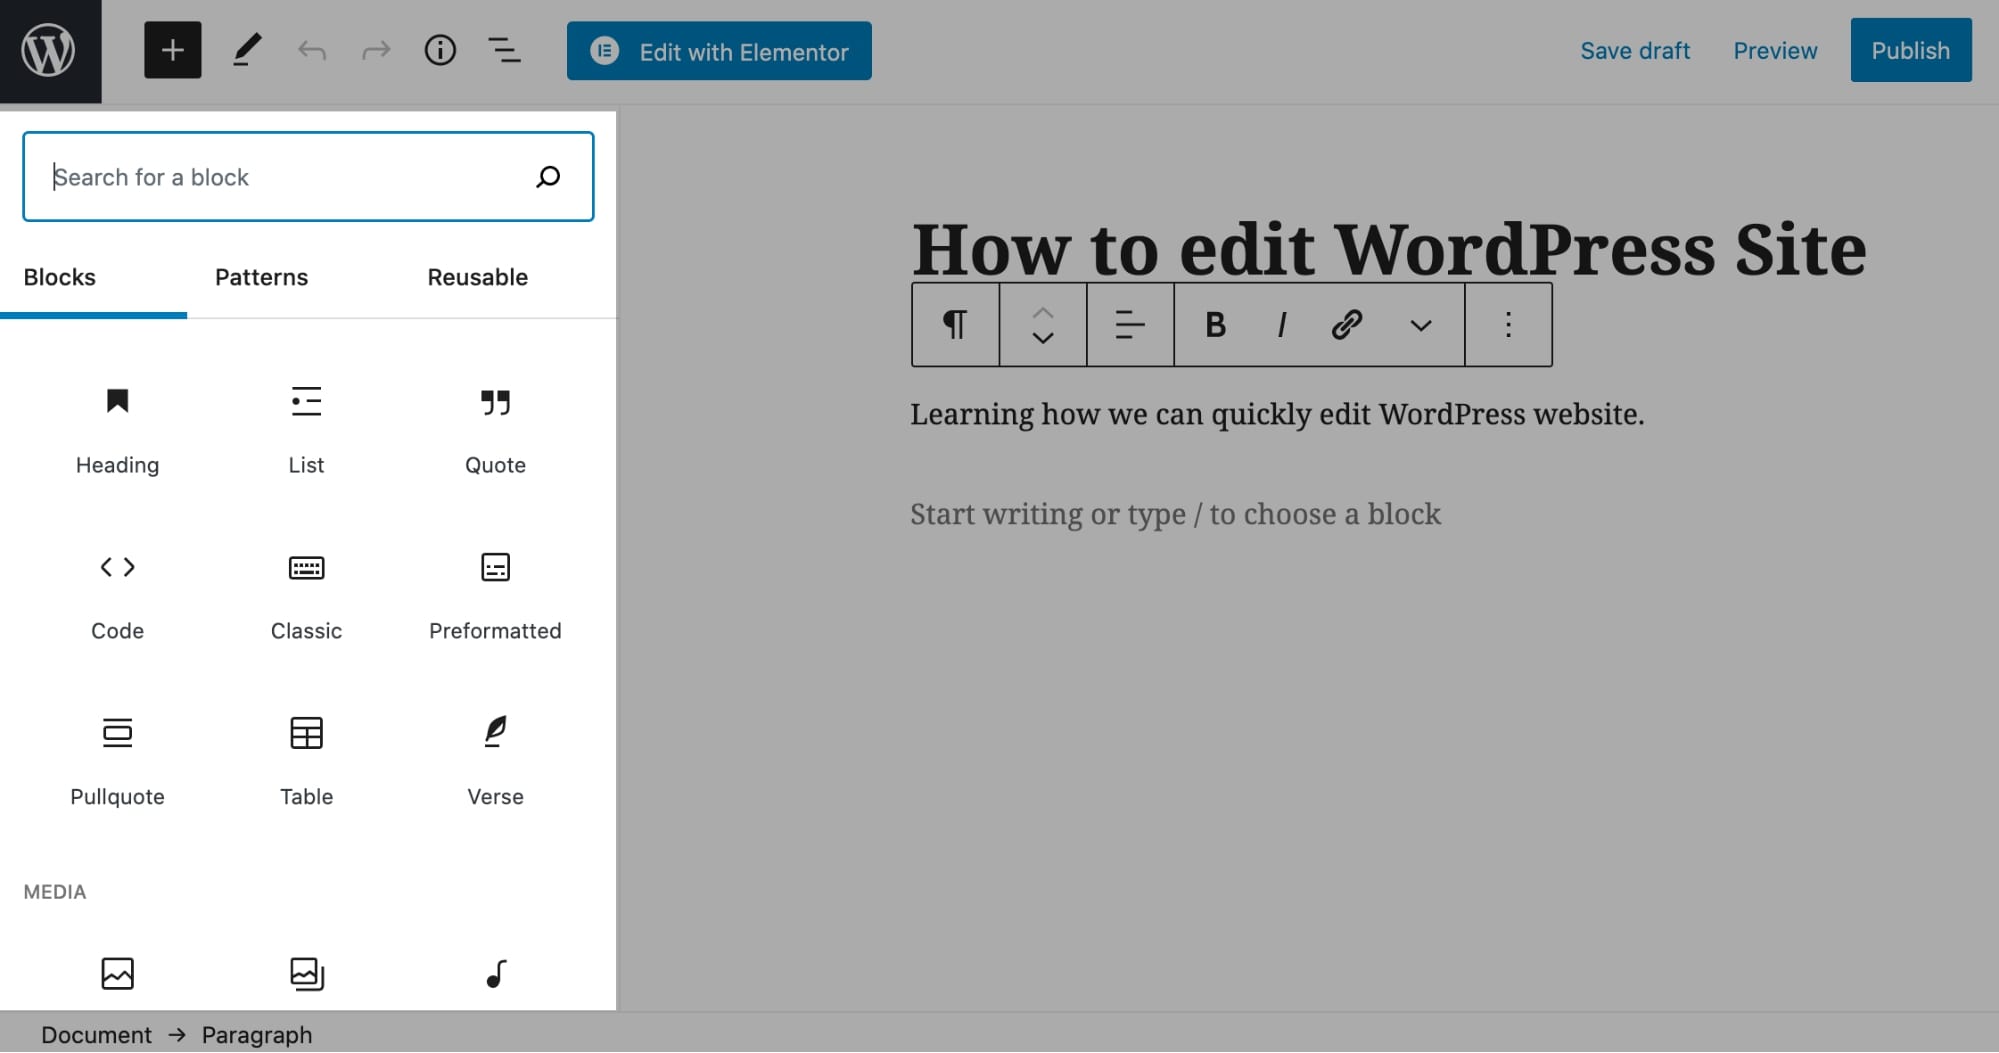
Once you’re happy with the page content, click on the Publish button, and your page will get live instantly.
Note: You can click on the Preview option (in the top bar) to check how the page will look to the site visitors on mobile, tablet, and desktop.