Changing pictures in the WordPress UX Builder is a straightforward process that allows you to customize the visual content of your website. This article provides a step-by-step guide on how to replace or update pictures using the UX Builder, empowering you to easily manage your website's visual elements.
Step 1: Accessing the WordPress UX Builder
Log in to your WordPress admin dashboard.
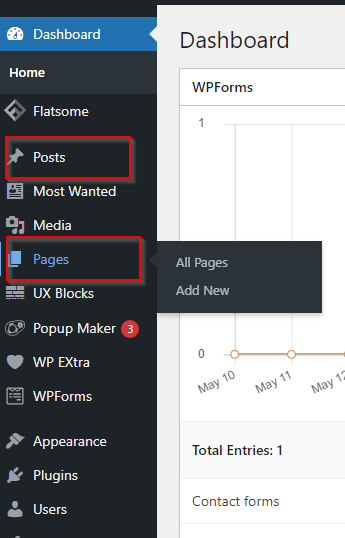
Navigate to the page or post where you want to change the picture.
Step 2: Entering the UX Builder Mode
Once you have located the page/post you wish to edit, locate the "Edit with UX Builder" button.
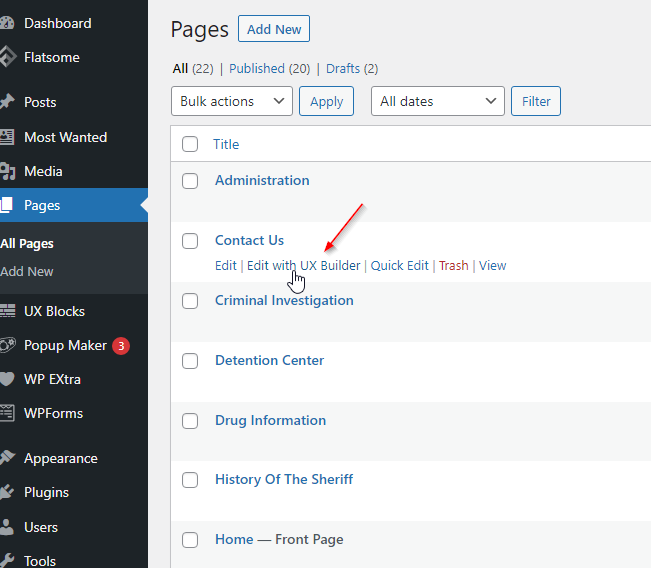
Click on the button to enter the UX Builder mode. This will launch the UX Builder interface, allowing you to make visual changes to your content.
Step 3: Selecting the Picture Element
- Inside the UX Builder, browse through the sections and rows of your page/post until you find the picture you want to change.
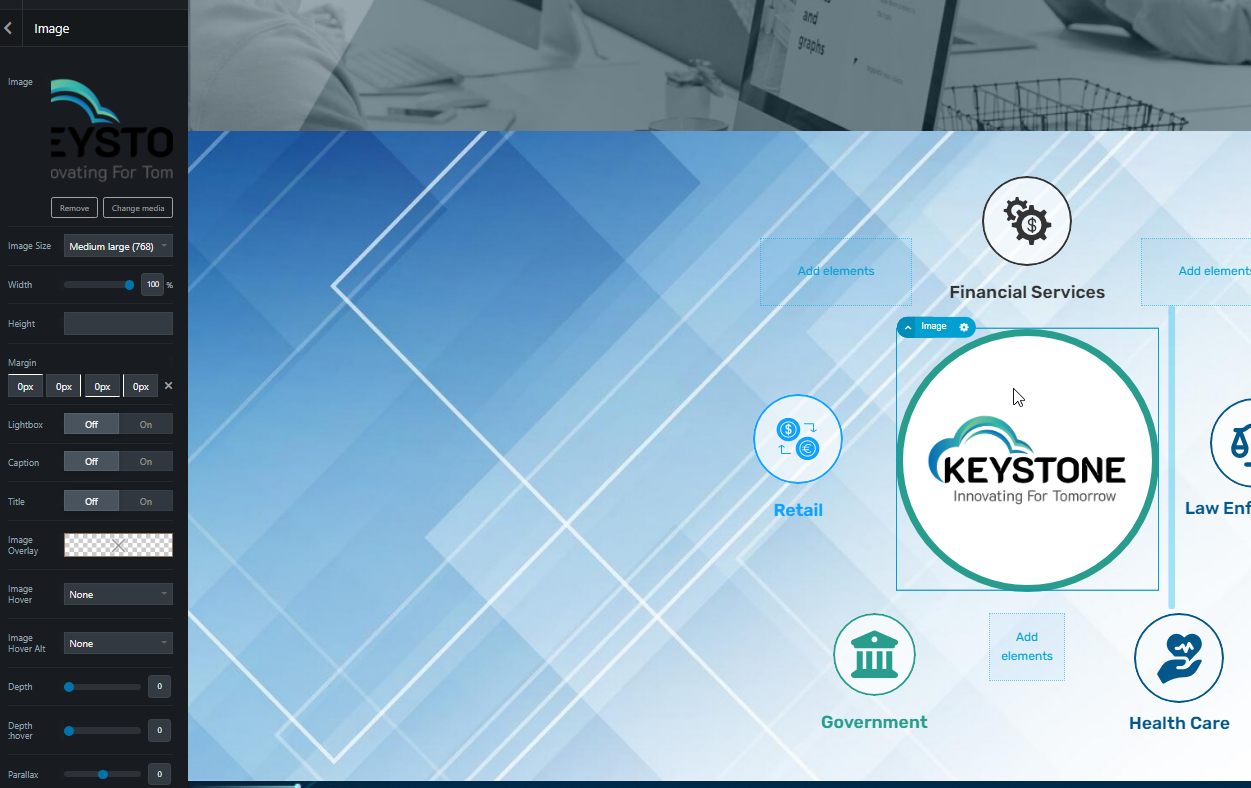
- Click on the picture element to select it. You may need to click on the picture or the surrounding container, depending on how it was set up.
Step 4: Changing the Picture
- With the picture element selected, look for the settings or options panel on the right-hand side of the UX Builder interface.
- In the settings panel, locate the field or option that allows you to change the picture.
- Depending on your theme or plugin, you may have different options for replacing the picture. These can include uploading a new image from your computer, selecting an image from your media library, or entering the URL of an external image.
- Choose the desired method and follow the on-screen prompts to select or upload your new picture.
Step 5: Adjusting Picture Settings (optional)
- After changing the picture, you might want to customize its appearance further.
- Explore the settings panel for options such as image size, alignment, borders, and captions.
- Adjust these settings according to your preferences, keeping in mind the overall design of your page/post.
Step 6: Previewing and Saving Changes
- Once you've replaced the picture and made any desired adjustments, it's crucial to preview your changes before saving them.
- Click on the "Preview" button within the UX Builder to see how the modified picture looks in the context of your page/post.
- If you're satisfied with the changes, click on the "Save" or "Update" button to save the modifications.
Changing pictures in the WordPress UX Builder is a simple process that allows you to update and personalize your website's visual content. By following the steps outlined in this article, you can confidently replace and customize pictures within your WordPress website using the UX Builder. Experiment with different images and settings to create engaging and visually appealing web pages.